Glowing Painted Portraits August 6, 2016 – Posted in: Image Tweaking, Photography
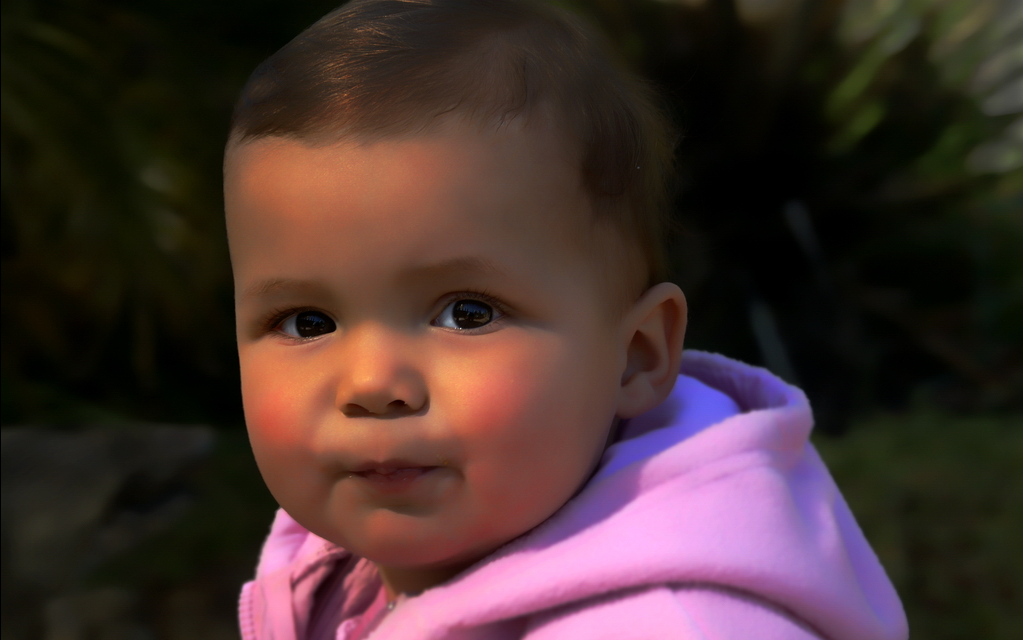
This is a portrait image which I have post processed (pp) to give a glowing, painted portrait look. I hope you like it.
Sometimes, when I take an image, I do so with specific post processing in mind.
I might think, I’ll do this as black and white, or dramatise the sky, or use this element in some other way. Other times, I capture an image, and when I am examining it, I decide to process it in a certain way.
This is what happened here.
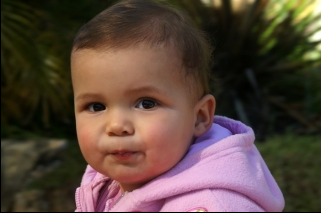
This is the original portrait. It’s a good image, and shows a life-like natural representation of the little girl.
What follows is a brief overview of what I did in pp to get this effect.
Inside Photoshop, I opened the image in Topaz Labs ADJUST filter (www.topazlabs.com) and used the SIMPLIFY preset, pulling down some of the sliders to reduce detail (simplify) the image just a bit.
Then I opened the image in Topaz Adjust again, and used the VIBRANCE preset, pulling the sliders down a bit to reduce the detail added back by the preset.
You could achieve these effects using photoshop too, I expect.
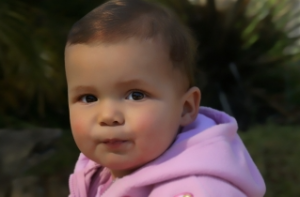
The outcome of these two steps is this image.
Pretty good so far.
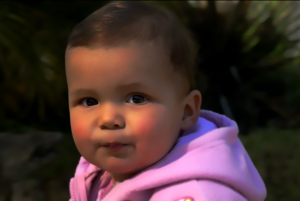
I should say, there are four other things I have done in the above image.
- I made a mask, and brought the eye detail through from the original background layer to overcome the loss of sharpness introduced by the above steps.
- I inserted a curves adjustment layer over a copy of the original layer to boost the highlights for the hair – which I also brought through in the same mask.
- I added a further layer with a gaussian blur, and brushed some of that over the clothing and some of the plants in the background, and
- I did a little selective dodging over the brighter areas of the plants to push them even further into the background.
The reason to bring the eye detail through was twofold.
- because it makes the portrait spring to life, and
- pp can often be used to cover up issues with the shoot (that’s not always bad, btw) but wasn’t the case here .
Next I used both a Levels AND a Curves adjustment layer to boost the overall effect, and arrived at the end result:
I’m not sure what you think of this, but when I showed it, I received a good reception. It’s a long way from the cute baby in the original image, but a worthwhile enhancement to an already great portrait image.
Please leave a message, or drop me an email and let me know what you think.
Cheers,
Tony


